Learn Vue.JS EventBus communication
In this tutorial, we are going to learn about how to create and use EventBus to communicate between components in Vue.js.
What is EventBus?
In Vue, eventbus helps us to communicate between the child components with the help of events.
This tutorial assumes that you already installed the vue app by using vue-cli.
Creating Event bus
Create a new file called eventbus.js inside your src folder and add the below code.
import Vue from 'vue';
export const eventBus = new Vue();
Here we created the eventbus by exporting the new vue instance.
It’s time to use our event bus.
Create a new component called componentA.vue inside your components folder and add the following code.
<template>
  <div>
    <h1>{{msg}}</h1>
    <button @click="changeMsg">change msg</button>
  </div>
</template>

<script>
import {eventBus} from '../eventbus'
 export default {
     data:function(){
         return {
             msg: "Welcome to Vue world"
         }
     },
     methods:{
         changeMsg:function(){
             this.msg = "Vue apps"
             //emitting the custom event with value
             eventBus.$emit('get-msg',this.msg)
         }
     }
 }
</script>
In the above code, we are emitting the custom event called get-msg with a value by using the eventBus.$emit() method.
Listening for the events
To listen the custom event, we need to use eventBus.$on method in our second component called ComponentB.vue.
The $on method accepts two arguments, the name of the event and a callback function.
<template>
  <div>
    <h1>{{my-msg}}</h1>
  </div>
</template>

<script>
import {eventBus} from '../eventbus'
 export default {
     data:function(){
         return {
            mymsg: "this is updated with componentA data"
         }
     },
     mounted:function(){
         //listening for the custom event
         eventBus.$on('get-msg',(msg)=>{             this.mymsg=msg;
         })
     }
 }
</script>
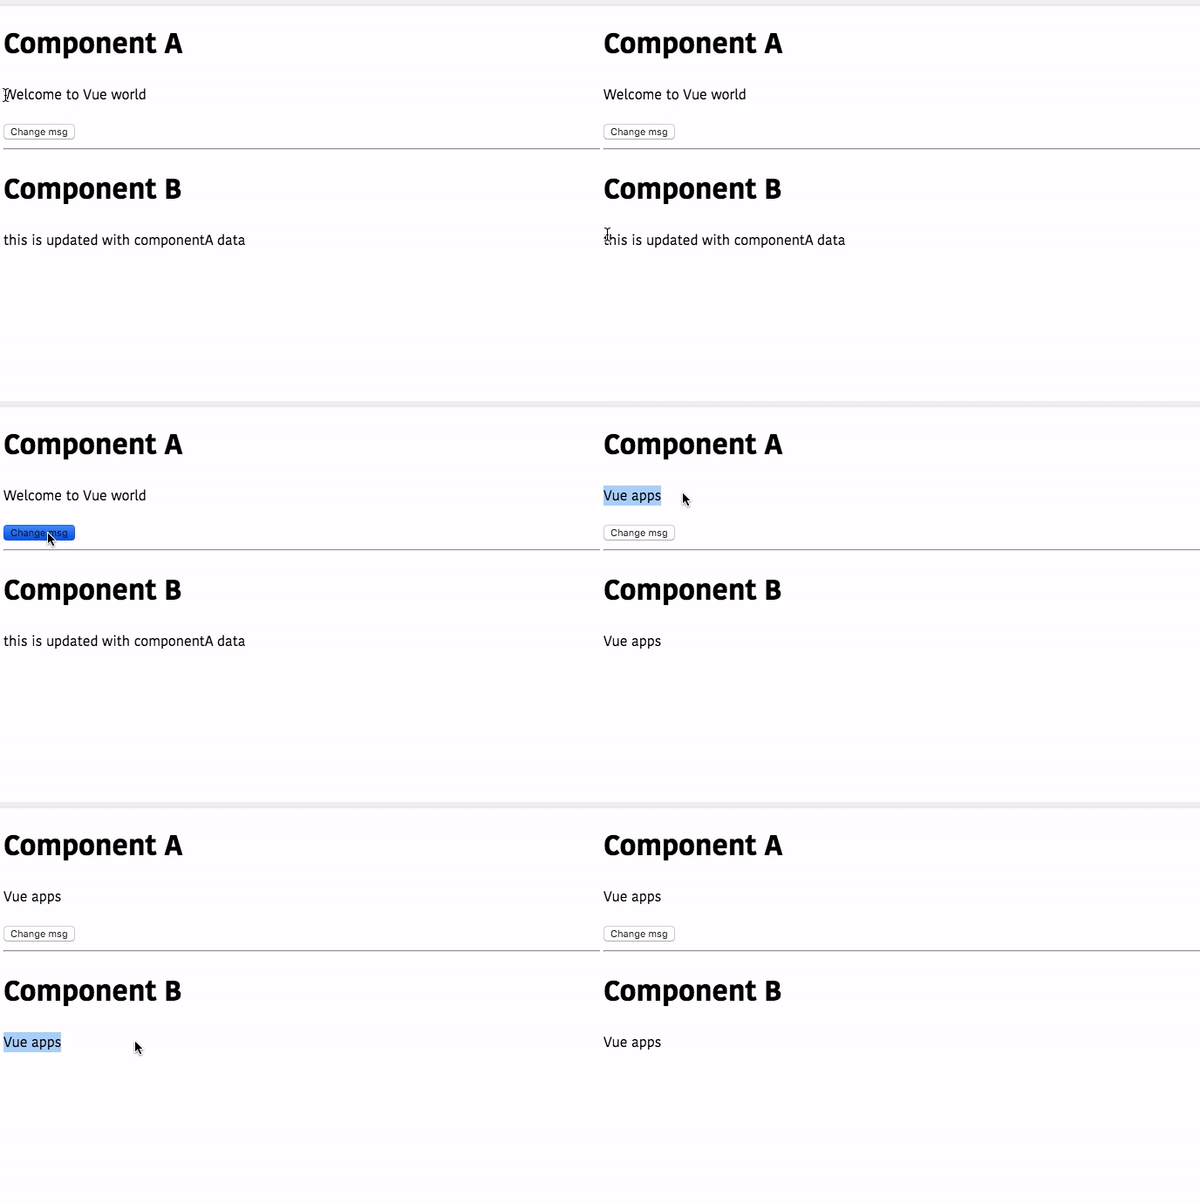
Here we are listening for the get-msg event so that whenever the event is emitted by the componentA, it invokes the callback function passed to the $on method.
The callback function will also receive the payload as its first parameter, which is emitted by the custom event get-msg.
Now in your App.vue file import these two components.
<template>
  <div>
    <h1>Component A</h1>
    <ComponentA />
    <hr />
    <h1>Component B</h1>
    <ComponentB />
  </div>
</template>

<script>
import ComponentA from "./components/ComponentA";
import ComponentB from "./components/ComponentB";

export default {
  components: {
    ComponentA,
    ComponentB
  }
};
</script>
Let’s test our vue app.


