Angular 8 intro tutorial for the beginners
In this tutorial, we are going to learn about how to create our first angular project by using angular cli.
What is Angular?
Angular is a frontend JavaScript framework which helps us to create a single page apps.
- Angular is a complete rewrite of angularjs.
Single page app
The single page app means we only have a single HTML page which is reusing throughout our app instead of downloading new page everytime from the server.
When Angular is released ?
- Angular is relased on 14 September 2016.
Why Angular so called as Angular 2,3,4,5,6?
- Angular is a complete rewrite of angularjs which leads to confusion among in developers.
- AngularJS refers to the version 1.x without JS refer to version Angular 2 and up.
Later they released angular 4,5,6 versions with new features like progressive web apps support, http client, etc and the team skipped angular 3.
Advantages of Using Angular
- Strong type system.
- Good tooling infrastructure.
- Simple and declarative templates.
- You can also build native mobile apps using Ionic, Cordova and also desktop based apps.
Who uses Angular
- Google express
- Code.gov
- Udacity
- Udemy
Many more companies uses angular in production.
Getting started
Let’s create our first angular project by using angular-cli.
Angular cli is a command line tool which helps us to create a new angular projects (it follows the best practices).
Requirements
- Nodejs(v10) is required to install the angular cli.
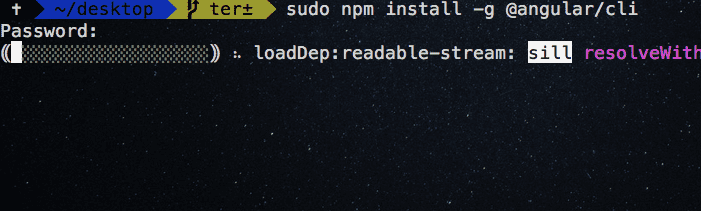
Open your terminal or cmd and run the following command to install the angular cli in your pc.
npm install -g @angular/cliIf you are using mac then add sudo in front of the npm.
Creating a project
Once you successfully installed angular cli, let’s create a project now.
Open your terminal and run the below command.
ng new my-angular-app
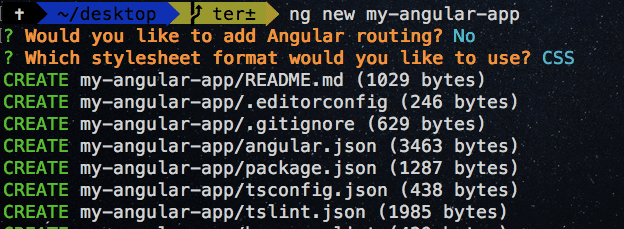
This above command will download the angular related files in my-angular-app folder.
Note if your prompt with any questions then type
Nto choose no.
Let’s change our current working directory.
cd my-angular-appRunning Development server
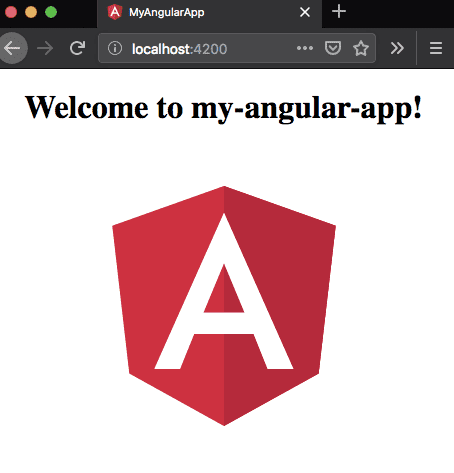
Let’s run the development server by using the below command.
ng serveNow open your browser and navigate to localhost:4200 to see your angular app.
Folder Structure
Let’s open a my-angular-app folder in your favorite code editor and navigate to src because its the place where our app lives.
Don’t worry about remaining files.
Inside src you will see the app folder which contains four files listed below.
- app.component.html
- app.component.css
- app.component.ts
- app.module.tsapp.component.html: It contains the HTML markup.
app.component.css. It contains CSS related code.
app.component.ts: It contains JavaScript/TypeScript realted code.
app.modules.ts: It also called root app module in angular where we import and declare the other modules, components so that angular has aware of that other components and modules because angular first runs the app.module.ts.
Now navigate to app.component.html and remove everything then add the below markup.
<h1>Hello angular</h1>Now your app reloads with the updated markup.
Interpolation
We need to use the double curly brace syntax {{}} to interpolate the data in angular.
Open your app.component.ts and update with below code.
import { Component } from '@angular/core';

@Component({
  selector: 'app-root',
  templateUrl: './app.component.html',
  styleUrls: ['./app.component.css']
})
export class AppComponent {
   name = 'Angular 8';}
In the above code, we have declared new variable called name ,let’s interpolate the name in our app.component.html
  <!-- interpolation -->
<h1>Hello {{name}}</h1>
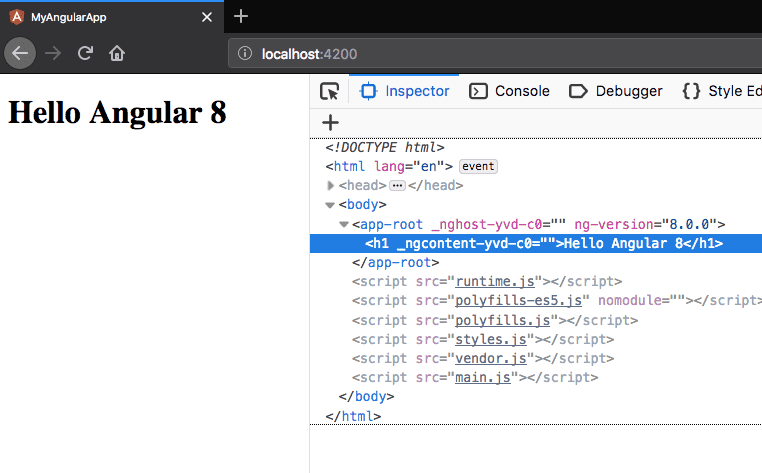
Have seen in above image Hello Angular 8 where Angular 8 comes from name="Angular 8" which we declared inside app.component.ts.
We can also use JavaScript methods inside interpolation syntax.
  <!-- interpolation -->
<h1>Hello {{name.toLowerCase()}}</h1>- Share:


