Angular routing beginners guide (Tutorial)
In this tutorial, we are going to learn about how to add routing in angular apps by using an angular router.
Contents
- Getting started
- Routing
- Router outlet
- Navigation Links
- Active styles
- Adding 404 page
- Url params
- Accessing params data
- Nested routing
What is Angular router?
Angular router is a routing library created by the angular team which is used to add routing in angular applications.
Getting started
Let’s create a new angular app by using angular command line interface.
Open your terminal and run following command.
ng new angular-routingThis above command will download the angular app related files inside angular-routing folder.
Now change your working directory by running below command.
cd angular-routingNote: If you stuck anywhere in this tutorial then checkout code repository on GitHub
Currently, our app has only single component we need three more components to create routing so that we are creating three new components.
ng generate component home
ng generate component users
ng generate component contact
Run this above commands in your terminal one after other.
Routing
Let’s implement the routing in our angular app.
Open your app.module.ts file and replace with below code.
import { BrowserModule } from '@angular/platform-browser';
import { NgModule } from '@angular/core';
import { RouterModule, Routes } from '@angular/router';import { AppComponent } from './app.component';
import { HomeComponent } from './home/home.component';
import { UsersComponent } from './users/users.component';
import { ContactComponent } from './contact/contact.component';

const appRoutes: Routes = [  { path: '', component: HomeComponent },  { path: 'users', component: UsersComponent },  { path: 'contact', component: ContactComponent }];
@NgModule({
  declarations: [
    AppComponent,
    UsersComponent,
    ContactComponent
  ],
  imports: [    BrowserModule,
    RouterModule.forRoot(appRoutes)
  ],
  providers: [],
  bootstrap: [AppComponent]
})

export class AppModule { }
In the above code, first we imported RouterModule and Routes type from the @angular/router
package then we created a appRoutes array.
Inside that array, we need to pass an object with path and component.
path: Here we need to add a path example users or contact.
component: Which component needs to be loaded when we navigate to that path.
At final we need to add RouterModule.forRoot method to imports array with an argument appRoutes with this our routing setup is complete.
Router outlet
routeroutlet is an angular directive which is used to register a particular place inside our component to render the routes.
Now open your app.component.html file and replace with below code.
<div style="text-align:center">
  <router-outlet></router-outlet>
</div>
Now we are telling angular to load routes in this place.
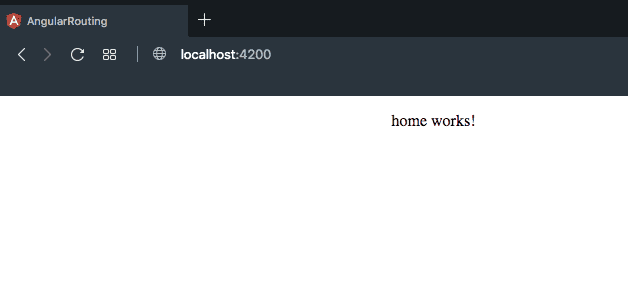
Run your development server and open your browser you will see `HomeComponent is rendered on the screen.
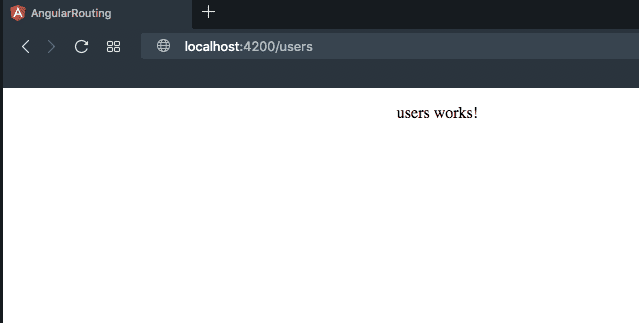
Now if you try to enter manually localhost:4200/users you will see UsersComponent is rendered.
Navigation Links
It’s hard to navigate to different pages in our app by manually entering paths so that we are adding navigation links to our app.
open your app.component.html file and update with below code.
<div style="text-align:center">
<nav style="display: flex;justify-content: space-evenly;">
<a routerLink="/">Home</a> <a routerLink="/users">Users</a> <a routerLink="/contact">Contact</a> </nav>
<router-outlet></router-outlet>
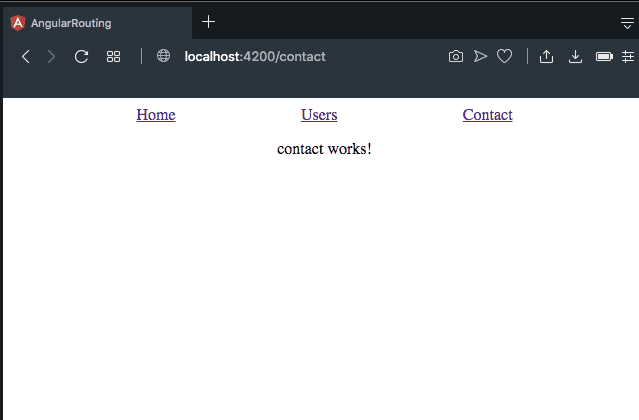
</div>routerLink is a angular directive which helps to add navigation links.
Active styles
By using RouterLinkActive directive we are styling the active routes so that user knows currently which page is browsing on the site.
Add an active CSS class to app.component.css file.
.active{
    color: #e4cf11;
    background-color: #161414;
    padding: 10px;
}
Now update your app.component.html file
<div style="text-align:center">
  <nav style="display: flex;justify-content: space-evenly;">
    <a routerLink="/" routerLinkActive="active">Home</a>    <a routerLink="/users" routerLinkActive="active">Users</a>    <a routerLink="/contact" routerLinkActive="active">Contact</a>  </nav>

  <router-outlet></router-outlet>
</div>
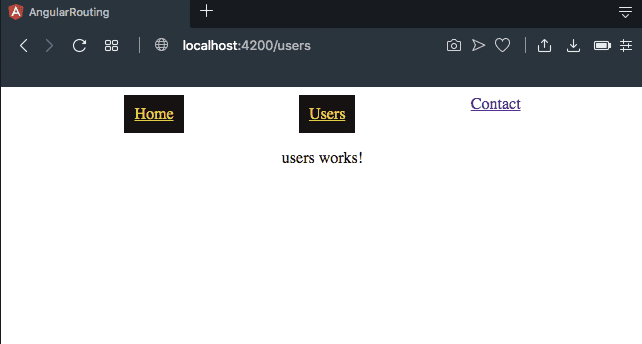
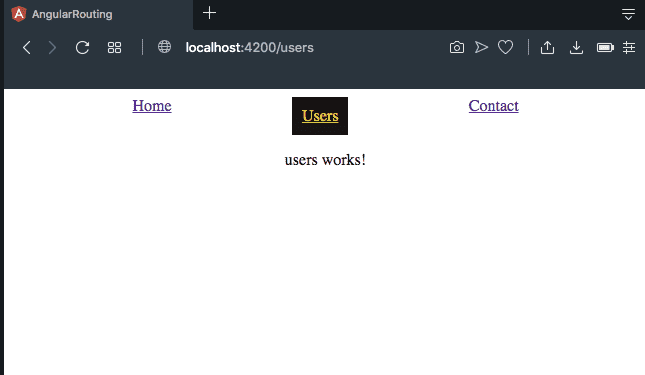
In the above image have you seen we are in /users route but both Home and Users are active we can solve this problem by adding a [routerLinkOptions] directive with {exact:true} to Home link.
<div style="text-align:center">
  <nav style="display: flex;justify-content: space-evenly;">
    <a routerLink="/" routerLinkActive="active"
    [routerLinkActiveOptions]="{exact:true}">       Home
    </a>
    <a routerLink="/users" routerLinkActive="active">Users</a>
    <a routerLink="/contact" routerLinkActive="active">Contact</a>
  </nav>

  <router-outlet></router-outlet>
</div>
Adding 404 page
A 404 page is also called do not found page which means if a user navigates to the wrong path which doesn’t present in our website, we are showing them a not found page.
open your terminal and run following command.
ng generate component notfoundNow we need to add a notfound component to our appRoutes array present inside app.module.ts file.
import { BrowserModule } from '@angular/platform-browser';
import { NgModule } from '@angular/core';
import { RouterModule, Routes } from '@angular/router';
import { AppComponent } from './app.component';
import { HomeComponent } from './home/home.component';
import { UsersComponent } from './users/users.component';
import { ContactComponent } from './contact/contact.component';
import { NotfoundComponent } from './notfound/notfound.component';
const appRoutes: Routes = [
{ path: '', component: HomeComponent },
{ path: 'users', component: UsersComponent },
{ path: 'contact', component: ContactComponent },
{ path: '**', component: NotfoundComponent }];
@NgModule({
declarations: [
AppComponent,
UsersComponent,
ContactComponent,
HomeComponent,
NotfoundComponent
],
imports: [
BrowserModule,
RouterModule.forRoot(appRoutes)
],
providers: [],
bootstrap: [AppComponent]
})
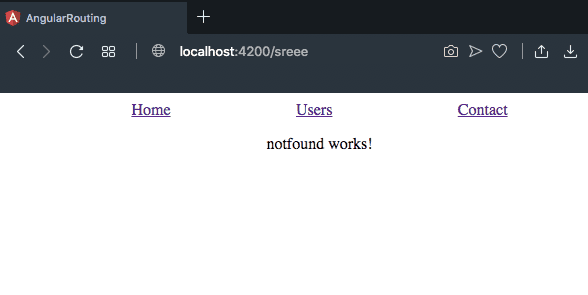
export class AppModule { }In the above code, we have added {path:'**', component:NotfoundComponent} where ** is a wildcard character by adding this angular router understands every invalid path i need to render NotfoundComponent.
Let’s check it now by entering a wrong path.
Url params
Url params help us to create dynamic paths let’s add a new route with URL params.
We also need to add one more component to load the dynamic paths so that create a new component by running the below command in your terminal.
ng generate component user infoOpen your app.module.ts file update your appRoutes array.
const appRoutes: Routes = [
  { path: '', component: HomeComponent },
  { path: 'users', component: UsersComponent },
  { path: 'users/:id', component: UserinfoComponent },  { path: 'contact', component: ContactComponent },
  { path: '**', component: NotfoundComponent }
];
In the above code, we have added a new path users/:id where :id is a parameter we can access this id data inside UsersinfoComponent.
Let’s test it now by typing a URL localhost:4200/users/1.
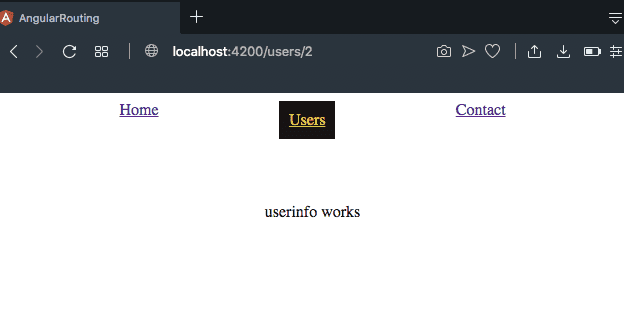
We have successfully loaded a userinfo component in the below section we are accessing that parameter and render on the screen.
Accessing params data
import { Component, OnInit } from '@angular/core';
import { ActivatedRoute, Params } from '@angular/router';
@Component({
  selector: 'app-userinfo',
  templateUrl: './userinfo.component.html',
  styleUrls: ['./userinfo.component.css']
})
export class UserinfoComponent implements OnInit {

  userId: number;  constructor(private route: ActivatedRoute) { }

  ngOnInit() {
    this.route.params.subscribe((params: Params) => {      this.userId = params.id;    });
  }
}
In the above code, we first imported ActivatedRoute, Params from the @angular/router package.
ActivateRoute: It gives us currently loaded route data.
Inside ngOnInit method we are subscribing for the params and updating the userId with currently loaded id.
params is an object it receives currently used params in that path in our case we are added id param to our path so that we can receive id value.
Update your userinfo.component.html file.
<h1>Currently loaded user id is : {{userId}}</h1>
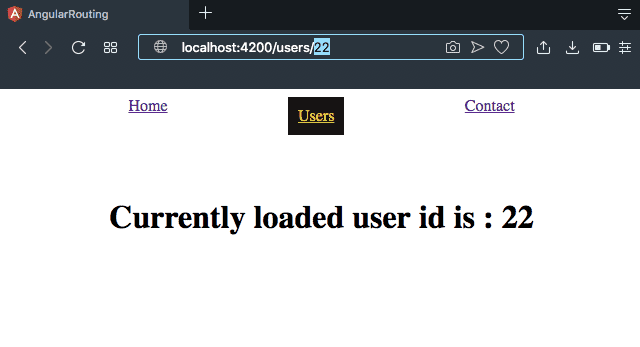
Have you seen in the above image our URL has localhost:4200/users/22 and also id 22 is rendered on the screen.
Nested routing
It means we are creating routes inside other routes.
Update your appRoutes array inside app.module.ts file
const appRoutes: Routes = [
  { path: '', component: HomeComponent },
  {    path: 'users', component: UsersComponent,    children: [    //UserInfo component is rendered when /users/:id is matched      { path: ':id', component: UserinfoComponent }    ]
  },
  { path: 'contact', component: ContactComponent },
  { path: '**', component: NotfoundComponent }
];
In the above code, we have added children array with nested routes in our Users component.so that UserInfo component is rendered inside the User component when it matches users/:id.
Currently in our app has only one root router-outlet which is present inside AppComponent for nested routes we need to add another router-outlet on which component we are added children array.
In our case, we are adding router-outlet in UsersComponent HTML file.
<h1>Users page</h1>

<!-- nested nav links -->
<nav class="nav">
    <!-- inside array 2 value is id which is similar to `users/1` -->    <a [routerLink]="['/users', 1]">User 1</a>    <a [routerLink]="['/users', 2]">User 2</a>    <a [routerLink]="['/users', 3]">User 3</a>
</nav>

<router-outlet></router-outlet>
- Share:


