Vue State Management tutorial using Vuex
In this tutorial, we are going to learn about how to manage the state in vue.js apps by using the vuex library.
What is Vuex?
Vuex is state management library created by the Vue core team which helps us to manage the centralized state in vue apps it means we can maintain our whole app state in one place.
Why we need Vuex?
In large apps, it’s hard to maintain the app state in components and share data between other components by using props which is often unpredictable, so that we need the ‘vuex’ to create a centralized state.
Getting started
This tutorial assumes that you already installed vue cli in your pc.
Let’s create a new vue app by running the following command in your terminal.
vue create learn-vuex && cd $_This above command creates a new vue project inside learn-vuex folder and also change your current working directory to learn-vuex.
Installing Vuex
Let’s install the vuex library by running the below command.
npm i vuexCreating vuex store
Once you successfully installed the vuexlibrary now open your learn-vuex folder in your favorite
code editor and create a new file called store.js in your src folder.
In the above code, we have imported a ‘vuex’ library and telling vue to use Vuex library.
import Vue from 'vue';
import Vuex from 'vuex';

Vue.use(Vuex);

export const store = new Vuex.Store({});
The store is holding our whole app state in a reactive JavaScript object it means if we update in a state in one place it will also update state in other places we used it.
To access the store object inside your vue components we need to pass the store to our root vue instance present inside main.js file.
import Vue from 'vue'
import App from './App.vue'
import { store } from './store';
Vue.config.productionTip = false
new Vue({
store, render: h => h(App),
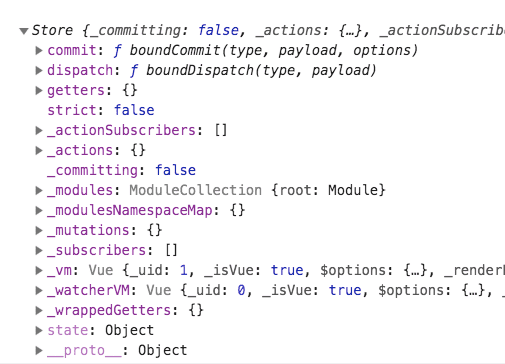
}).$mount('#app')Let’s add a console.log inside our App.vue file to see if vuex store is available in vue components.
<template>
  <div id="app"></div>
</template>

<script>
export default {
  created: function() {
    console.log(this.$store);  }
};
</script>
So far we just created a vuex store but we didn’t add any state to our store let’s add it now.
Adding state to Vuex store
The state is a reserved property in vuex, which is an object where we can add our app initial state.
Let’s update our store.js file by adding the state.
import Vue from 'vue';
import Vuex from 'vuex';

Vue.use(Vuex);

export const store = new Vuex.Store({
    state: {        count: 0    }});
Accessing the state
Now we can access the state inside our vue components by creating a computed property.
<template>
  <div id="app">
    <h1>{{count}}</h1>  </div>
</template>

<script>
export default {
  computed: {    count: function() {      return this.$store.state.count;    }  }};
</script>
Adding mutations to Vuex store
In vuex, we can’t directly update state directly the only way to update the state is by adding a mutation.
Note: Mutations work in synchronous fashion.
Let’s add an INCREMENT_COUNT mutation which is used to update our count value by ‘1’.
import Vue from 'vue';
import Vuex from 'vuex';

Vue.use(Vuex);

export const store = new Vuex.Store({
    state: {
        count: 0
    },
    mutations: {        INCREMENT_COUNT(state) {            state.count += 1        }    }});
Every mutation function will receive state as its first parameter.
Now we can invoke the mutation function inside our vue component by running a commit method with an argument mutation name.
<template>
  <div id="app">
    <h1>{{count}}</h1>
    <button @click="increment">Increment</button>  </div>
</template>

<script>
export default {
  computed: {
    count: function() {
      return this.$store.state.count;
    }
  },
  methods: {
    increment() {        //invoking the 'INCREMENT_COUNT' mutation      this.$store.commit("INCREMENT_COUNT");    }  }
};
</script>
Passing dynamic arguments to mutations
We can also pass dynamic arguments to the mutations at the time of committing a mutation.
Let’s update our INCREMNT_COUNT mutation in store.js file so that it can accept dynamic arguments.
import Vue from 'vue';
import Vuex from 'vuex';

Vue.use(Vuex);

export const store = new Vuex.Store({
    state: {
        count: 0
    },
    mutations: {        INCREMENT_COUNT(state, value) {            state.count += value        }    }});
Now inside our vue component we can commit a INCREMENT_COUNT mutation by passing a value.
<template>
<div id="app">
<h1>{{count}}</h1>
<button @click="increment">Increment</button> </div>
</template>
<script>
export default {
computed: {
count: function() {
return this.$store.state.count;
}
},
methods: {
increment() { //commiting the mutation by passing a value 2 this.$store.commit("INCREMENT_COUNT",2); } }
};
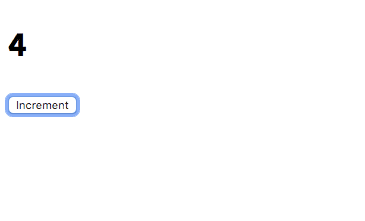
</script>Now, if we click on the increment button it will increment the count value by 2.
Actions in vuex
In vuex mutations are synchronous so that actions helps us to run asynchronous tasks like making an API request.
Let’s add actions to our vuex store which helps us to make an API request.
Every action function will receive a context object as its parameter by using this we can commit the mutations directly from the actions and also we can access the state.
import Vue from 'vue';
import Vuex from 'vuex';
Vue.use(Vuex);
export const store = new Vuex.Store({
state: {
count: 0,
todo: null },
mutations: {
INCREMENT_COUNT(state, value) {
state.count += value
},
SET_TODO(state, data) { state.todo = data } },
actions: {
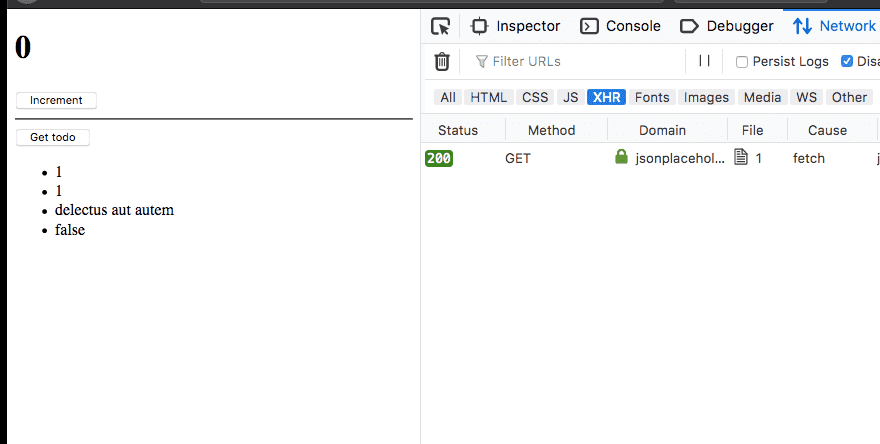
getTodo(context) { fetch('https://jsonplaceholder.typicode.com/todos/1') .then(response => response.json()) .then(firstTodo => { context.commit('SET_TODO', firstTodo) }) } }
});Dispatching actions
To invoke the actions inside vue components we need to use this.$store.dispatch method.
<template>
  <div id="app">
    <h1>{{count}}</h1>
    <button @click="increment">Increment</button>
    <hr>
    <button @click="getTodo">Get todo</button>    <ul>
      <li v-for="(value,key) in todo" :key="key">{{value}}</li>    </ul>
  </div>
</template>

<script>
export default {
  computed: {
    count: function() {
      return this.$store.state.count;
    },
    todo: function() {      return this.$store.state.todo;    }  },
  methods: {
    increment() {
      this.$store.commit("INCREMENT_COUNT", 2);
    },
    getTodo() {      this.$store.dispatch("getTodo");    }  }
};
</script>
- Share:


