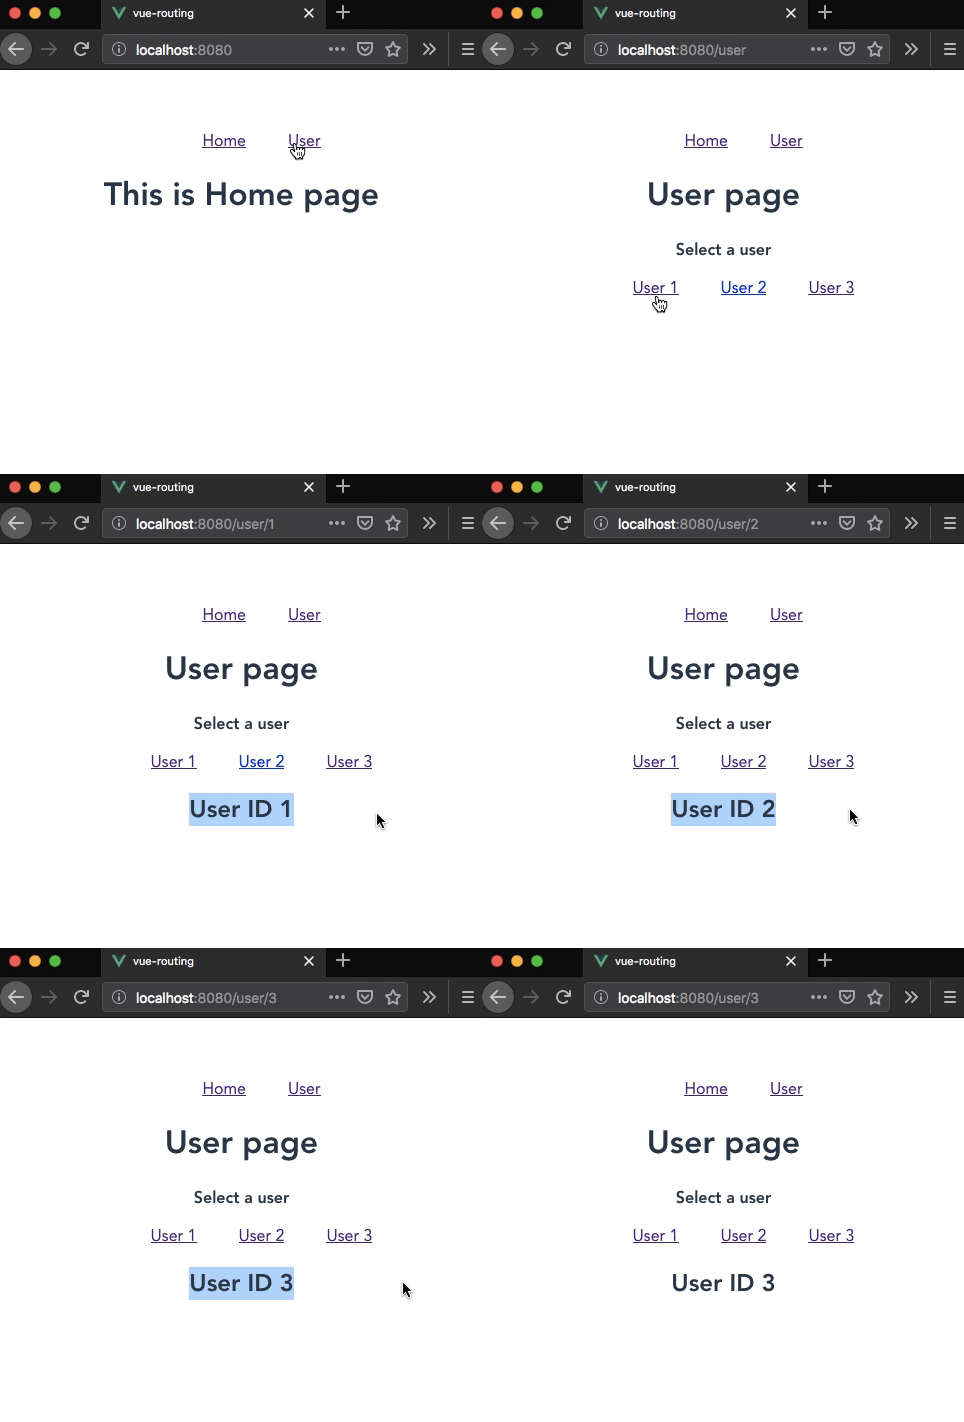
Vue Router Nested Routing tutorial
In this tutorial, we will learn about nested routing in vue router with the help of an example.
Nested Routing
Nested routing helps us to render sub-routes inside a particular route like user/1 or user/1/post.
In vue router normally we define one root <router-view> outlet where it renders the component which matches the defined path similarly, a rendered component can also contain it’s own, nested <router-view>.
Let’s create a User component with <router-view> outlet.
<template>
  <div>
    <h1>User page</h1>
    <router-view></router-view>  </div>
</template>
To create a nested routing inside User component we need to add child routes in vue router constructor.
import Vue from 'vue'
import App from './App.vue';
import VueRouter from "vue-router";
import Home from './components/Home.vue';
import User from './components/User.vue';
import UserInfo from './components/UserInfo.vue';

Vue.use(VueRouter);

const router = new VueRouter({
  mode: "history",
  routes: [
    { path: '/', component: Home },
    {
      path: '/user', component: User, children: [
          //UserInfo component is rendered when /user/:id is matched
        { path: ':id', component: UserInfo, props: true }      ]
    },
  ]
})

new Vue({
  router,
  render: h => h(App),
}).$mount('#app')
In the above code, we have added children array with nested routes in our User component.so that UserInfo component is rendered inside the User component when it matches user/:id.
Now inside UserInfo component we can access the dynamic segment id with props.
<template>
  <div>
    <h2>User ID {{id}}</h2>
  </div>
</template>

<script>
export default {
  props: ["id"]};
</script>
Let’s update our User component by adding navigation for the nested routes.
<template>
  <div>
    <h1>User page</h1>
    <strong>Select a user</strong>
    <ul class="nav">
      <router-link to="/user/1">User 1</router-link>      <router-link to="/user/2">User 2</router-link>      <router-link to="/user/3">User 3</router-link>    </ul>
    <router-view></router-view>
  </div>
</template>

<script>
</script>


