
Seo in Gatsby
by Sai gowtham2min readSearch engine optimization is very important to every site it’s bad behavior if we show the same title and description on every page of our site. We are using the react helmet library which is used to control the meta tags.
Let’s create a new component for handling the meta tags so that we can reuse it whenever it’s is required.
Create a new file called Metatags.js in your components folder.
components/Metatags.js
import React from 'react';
import Helmet from 'react-helmet'

function Metatags(props) {

    return (
        <Helmet
            title={props.title}
            meta={[
                { name: 'title', content: props.title },

                { name: 'description', content: props.description },
                {
                    property: 'og:title',
                    content: props.title,
                },
                {
                    property: 'og:url',
                    content: props.pathname ? props.url + props.pathname : props.url,
                },

                {
                    property: 'og:image',
                    content: props.thumbnail && props.thumbnail,
                },
                {
                    property: 'og:image:secure_url',
                    content: props.thumbnail && props.thumbnail,
                },

                {
                    property: 'og:description',
                    content: props.description,
                },

                {
                    property: 'og:image:width',
                    content: '1200',
                },

                {
                    property: 'og:image:height',
                    content: '630',
                },
                {
                    property: 'og:locale',
                    content: 'en',
                },
                { name: 'twitter:card', content: 'summary_large_image' },

                { name: 'twitter:title', content: props.title },

                {
                    name: 'twitter:description',
                    content: props.description,
                },
                {
                    name: 'twitter:image',
                    content: props.thumbnail && props.thumbnail,
                },
                { property: 'og:type', content: 'website' },
                { name: 'robots', content: 'index, follow' },

                { name: 'twitter:creator', content: '@saigowthamr' },
                { property: 'og:site_name', content: 'yoursitename' }
            ]}
        >
            <html lang="en" />
        </Helmet>
    )
}

export default Metatags;
Now we can ready to use this Meta tags component inside the BlogPost template.
templates/blog-post.js
import React from 'react';
import Layout from '../components/layout';
import Img from 'gatsby-image';
import Metatags from '../components/Metatags';
import { graphql } from 'gatsby'
function BlogPost(props) {
const post = props.data.markdownRemark;
const url = props.data.site.siteMetadata.siteUrl
const { title, description } = post.frontmatter;
const thumbnail = post.frontmatter.image.childImageSharp.resize.src
return (
<Layout>
<Metatags
title={title}
description={description}
thumbnail={url + thumbnail}
url={url}
pathname={props.location.pathname}
/>
<div>
<h1>{title}</h1>
<Img fluid={post.frontmatter.image.childImageSharp.fluid} />
<div dangerouslySetInnerHTML={{ __html: post.html }} />
</div>
</Layout>
)
}
export default BlogPost
export const query = graphql`
query PostQuery($slug: String!) {
markdownRemark(fields: { slug: { eq: $slug } }) {
html
frontmatter {
title
description
image {
childImageSharp {
resize(width: 1500, height: 1500) {
src
}
fluid(maxWidth: 786) {
...GatsbyImageSharpFluid
}
}
}
}
}
site {
siteMetadata {
siteUrl
}
}
}
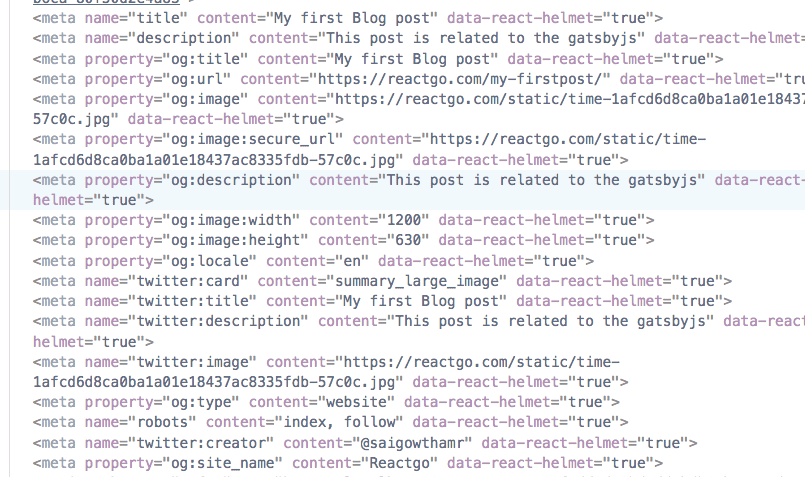
`Let’s test it now by using Mozilla dev tools.
In the next tutorial, we are deploying our blog in the netlify hosting.
- Share:

