Intro to the Svelte Reactivity
In this tutorial, we are going to learn about reactivity in svelte.
Svelte brings the reactivity into the language itself to keep up your app state sync with the dom.
Let’s see an example
 <script>
    let name = "react";

    function changeName(){
        //updating the state
        name = "svelte"    }
 </script>

 <h1>{name}</h1>
 <button on:click={changeName}>Change Name</button>
In the above code, we have created a local state name in App component and we interpolated that data in html markup.
Inside the changeName event handler, we are updating the state by assinging a new value name= 'react', so wherever we used that state inside the dom also updated with the new state.
Reactive variables
If we place $: in front of a variable that will become a reactive variable in svelte.
example:
 <script>
    let a = 1;
    let b = 2;
    $: c = a+b; //reactive variable</script>

<h1>{c}</h1>
<button on:click={()=>a += 1}>Increment a</button>
In above code , we have created a reactive variable called c so that whenever its underling property
changes it automatically revaluates the logic and updates the dom, like if we click on a Increment a button reactive variable c will be updated.
Debugging
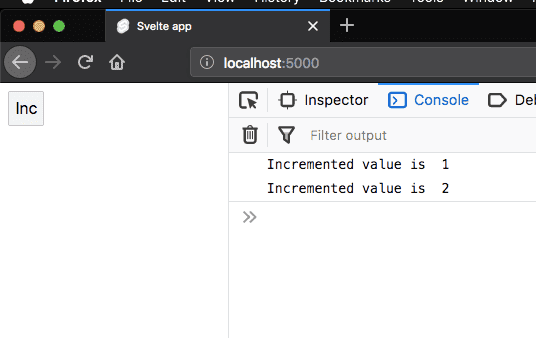
We can also make our console logs reactive by using $:.
In below example, we are logging the num value wherever it changes.
example:
<script>
  let num = 1;
  $: console.log(`Incremented value is  ${num}`);</script>

<button on:click={() => (num += 1)}>Inc</button>
We can also group statements together with a block.
  $: {
    console.log(`Incremented value is ${num}`);
    console.log(`Yeah num its updated`);
  }
We can even use $: in front of conditional statements.
 <script>
  let num = 1;
  $: if (num > 10) {    console.log(`The limit is over`);  }</script>

<button on:click={() => (num += 1)}>Inc</button>


