React form handling tutorial
In this tutorial, we are going to learn about how to handle the forms in react.
In HTML form elements like input , textarea and select they maintain there
own internal state in the dom, but in react we are handling the state inside the components
and updating the state using setState() method.
When a form element state is controlled by react,they are called controlled components.
Let’s look into the examples.
Input element
class Login extends React.Component {
state = {
username: "",
password: ""
};
handleSubmit = e => {
e.preventDefault();
console.log(this.state);
};
handleUsername = e => {
this.setState({
username: e.target.value
});
};
handlePassword = e => {
this.setState({
password: e.target.value
});
};
render() {
return (
<form onSubmit={this.handleSubmit}>
<input
type="text"
value={this.state.username}
placeholder="Username"
onChange={this.handleUsername}
/>
<input
type="password"
value={this.state.password}
placeholder="Password"
onChange={this.handlePassword}
/>
<button type="submit">Login</button>
</form>
);
}
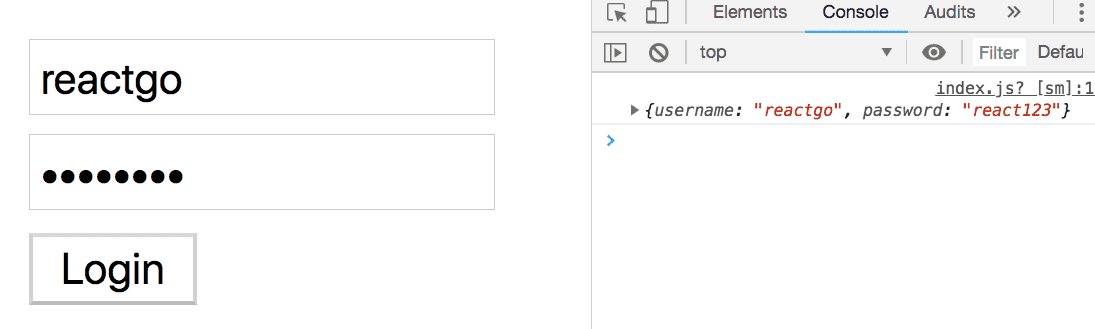
}There is a Login Component with two input fields username and password where we added an onChange
event handler to update the react state on every keystroke.
When a User clicks on a login button we are logging the data in the console or you can send a data to your backend.
Textarea element
In react we are assigning a state to the value attribute present inside the textarea element by using the onChange event handler we are updating the state it is similar to the input element.
example:
class Comments extends React.Component {
state = {
comment:""
};
handleSubmit = e => {
e.preventDefault();
console.log(this.state);
};
handleComment = e => {
this.setState({
comment: e.target.value
});
};
render() {
return (
<form onSubmit={this.handleSubmit}>
<textarea value={this.state.comment}
onChange={this.handleComment}/>
<button type="submit">Comment</button>
</form>
);
}
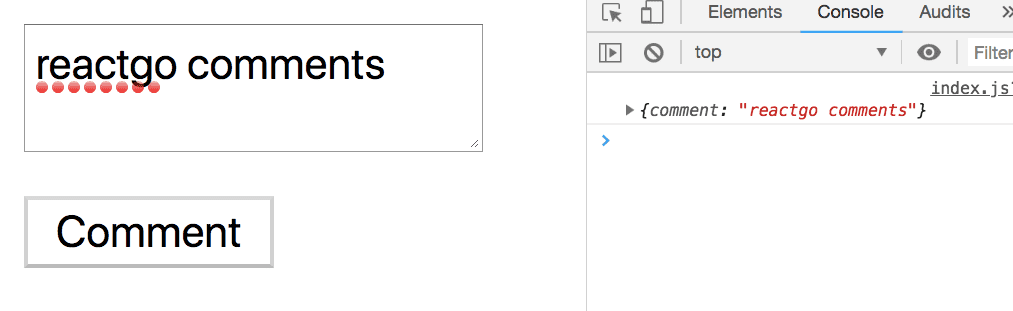
}In the above code we have added an onChange handler, to the textarea element to update the comment property defined inside the state object.
Select element
The select element in the HTML is used to create a dropdown list.
Let’s see an example.
class ChooseFramework extends React.Component {
state = {
framework: "vue"
};
handleSubmit = e => {
e.preventDefault();
console.log(this.state.framework);
};
handleChange = e => {
this.setState({
framework: e.target.value
});
};
render() {
return (
<form onSubmit={this.handleSubmit}>
<h2>Choose your framework</h2>
<select onChange={this.handleChange} value={this.state.framework}>
<option value="react">React</option>
<option value="angular">Angular</option>
<option value="vue">Vue</option>
</select>
<button type="submit">Submit</button>
</form>
);
}
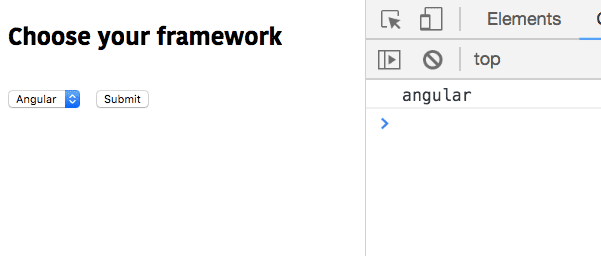
}Here we added an onChange handler and value attribute to the select element.
The option elements are nested inside the select element, there is a value attribute in each option element which is holding the data.
When we select a particular option the this.state.framework property value is updated with the option attribute value. Like in the below image we selected angular framework so that angular is logged inside the console.
- Share:


