How to generate react components from cli using plop
In this tutorial, we are going to learn about generating new react components from the cli using plop.js.
In angular-cli we have a command to generate new components but in create-react-app, we didn’t have such a command to generate new components but plop.js offers us a way to generate components from the cli (command line interface).
Setting up the app
First, let’s create a new react app using create-react-app.
npx create-react-app my-appOnce the app is successfully created, now change your working directory by running below command.
cd my-appInstalling plop.js
Now install the plop.js by running below command.
npm i -D plopNow open your my-app folder in your favorite code editor.
Creating plop configuration
create a plopfile.js in your root app folder and add the below code.
module.exports = function (plop) {
    plop.setGenerator('component', {
        description: 'Creating new react components',
        prompts: [{
            type: 'list',
            name: "input",
            message: 'Choose your component',
            choices: ['class', 'functional'],
        },
        {
            type: "input",
            name: "name"
        }
        ],
        actions: function (data) {
            const actions = [];
      if (data.input === 'functional') {
            actions.push(
                {
                   type: 'add', //adding file to your propject
                   templateFile: 'plop-templates/functional-component.hbs',
                   path: 'src/{{pascalCase name}}.js' //component path
                }
            )
      } else {
          actions.push(
                 {
                   type: 'add',
                   templateFile: 'plop-templates/class-component.hbs',
                   path: 'src/{{pascalCase name}}.js'
                 }
             )
            }
            return actions;
        }
    });
};
In the above code, we have a prompts array with two objects which helps us to take an input from the cli and pass that data to actions function.
Inside the actions function, we have added a conditional to choose between functional or class component.
Creating plop-templates
Now we need to create a plop-templates so that plop.js generates the new components based on that template.
Inside your root app folder create a new folder called plop-templates and create two new files
called class-component.hbs and functional-component.hbs then add the below code.
import React, { Component } from 'react';


class {{ pascalCase name }} extends Component{

    state = {

    }

render(){
    return (
        <div>
            {{ pascalCase name }}
        </div>
     );
 }
}

export default {{ pascalCase name }};import React from 'react';
function {{pascalCase name}}() {
return (
<div>
{{pascalCase name}}
</div>
);
}
export default {{pascalCase name}};Adding script to package.json
Now open your package.json file and add the below script to your scripts object.
"generate": "plop"With this our plop setup is complete now open your terminal and run npm run generate.
It prompts a question with two options class or functional.
? Choose your component (Use arrow keys)
❯ class
  functional
On the next step, it will ask for a component name.
? Choose your component class
? name: Mycomponent
Type your component name and hit enter.
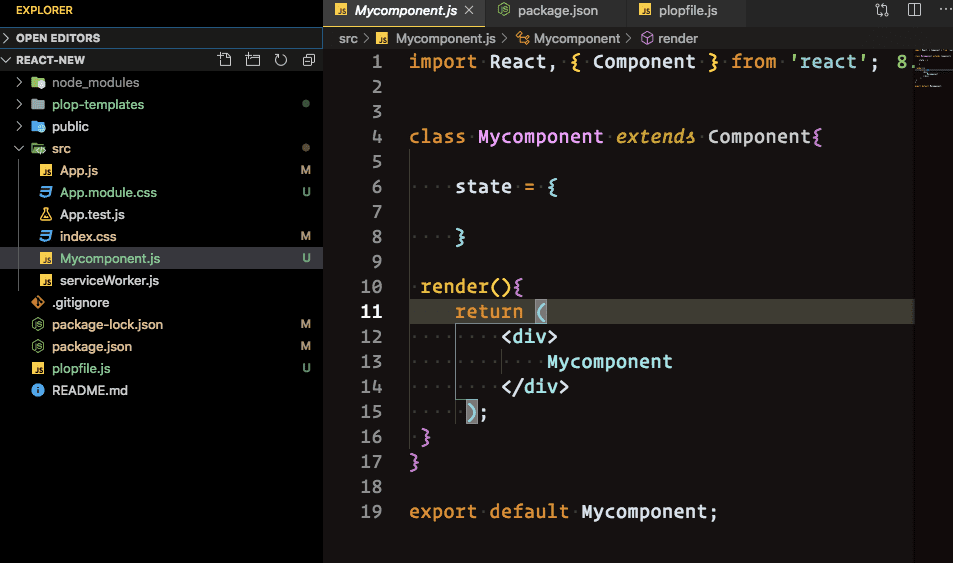
Now inside your src folder you will see a new component file called Mycomponent.js.
Code repository
- Share:


